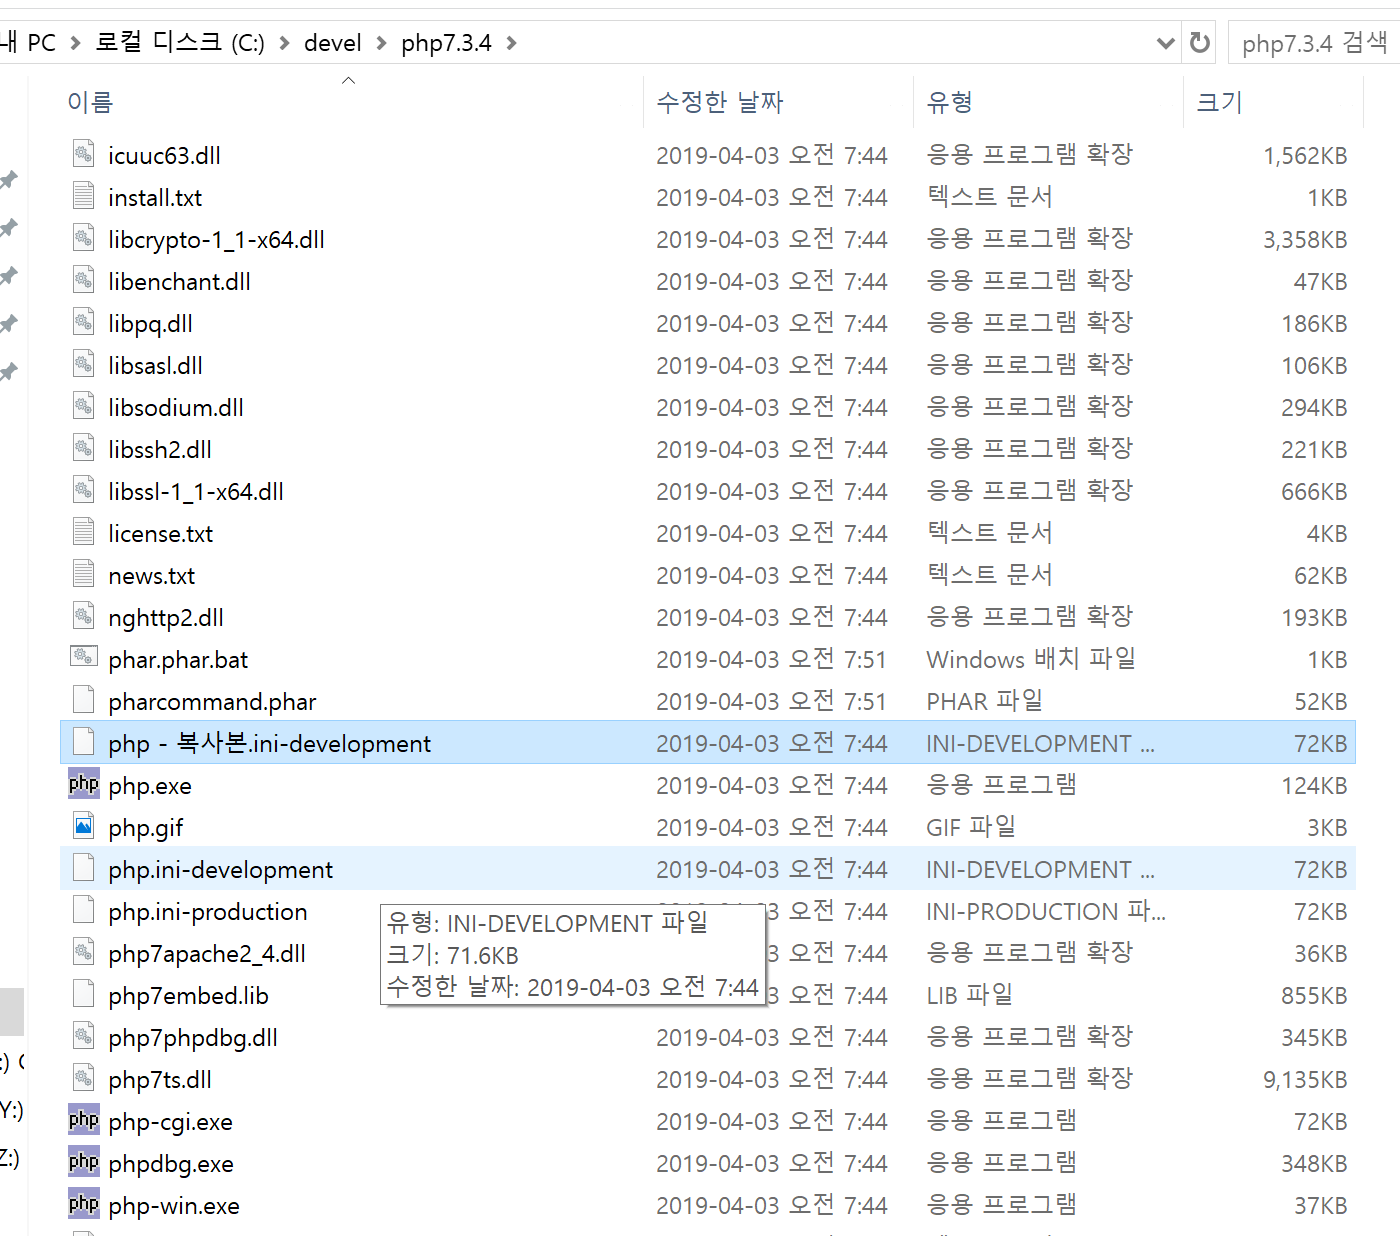
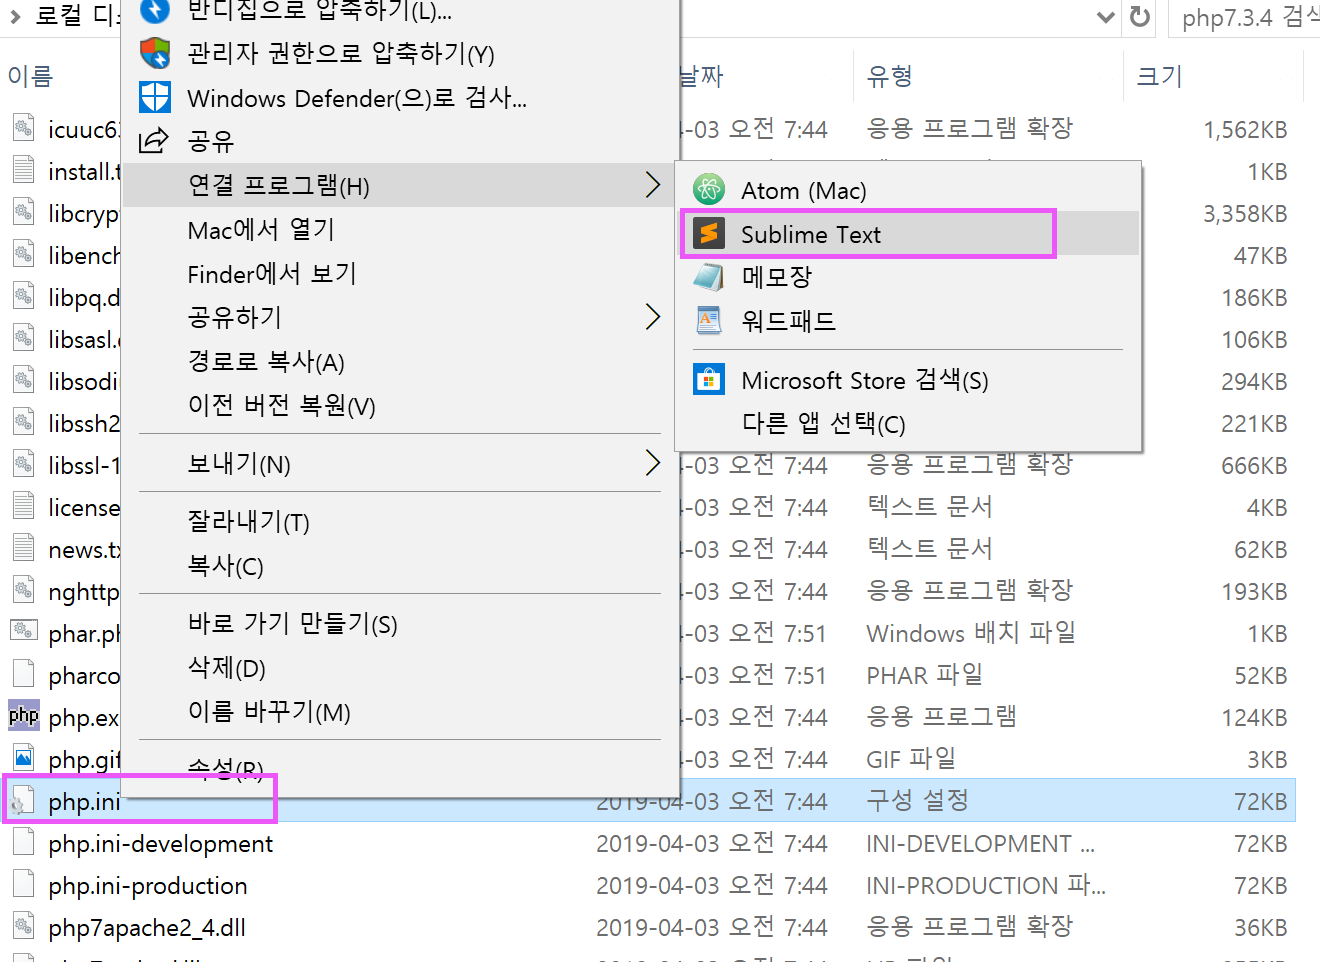
extension_dir 부분을 php\ext 폴더를 지정해주자 안그러면 모듈을 불러오지 못해 에러가 난다.
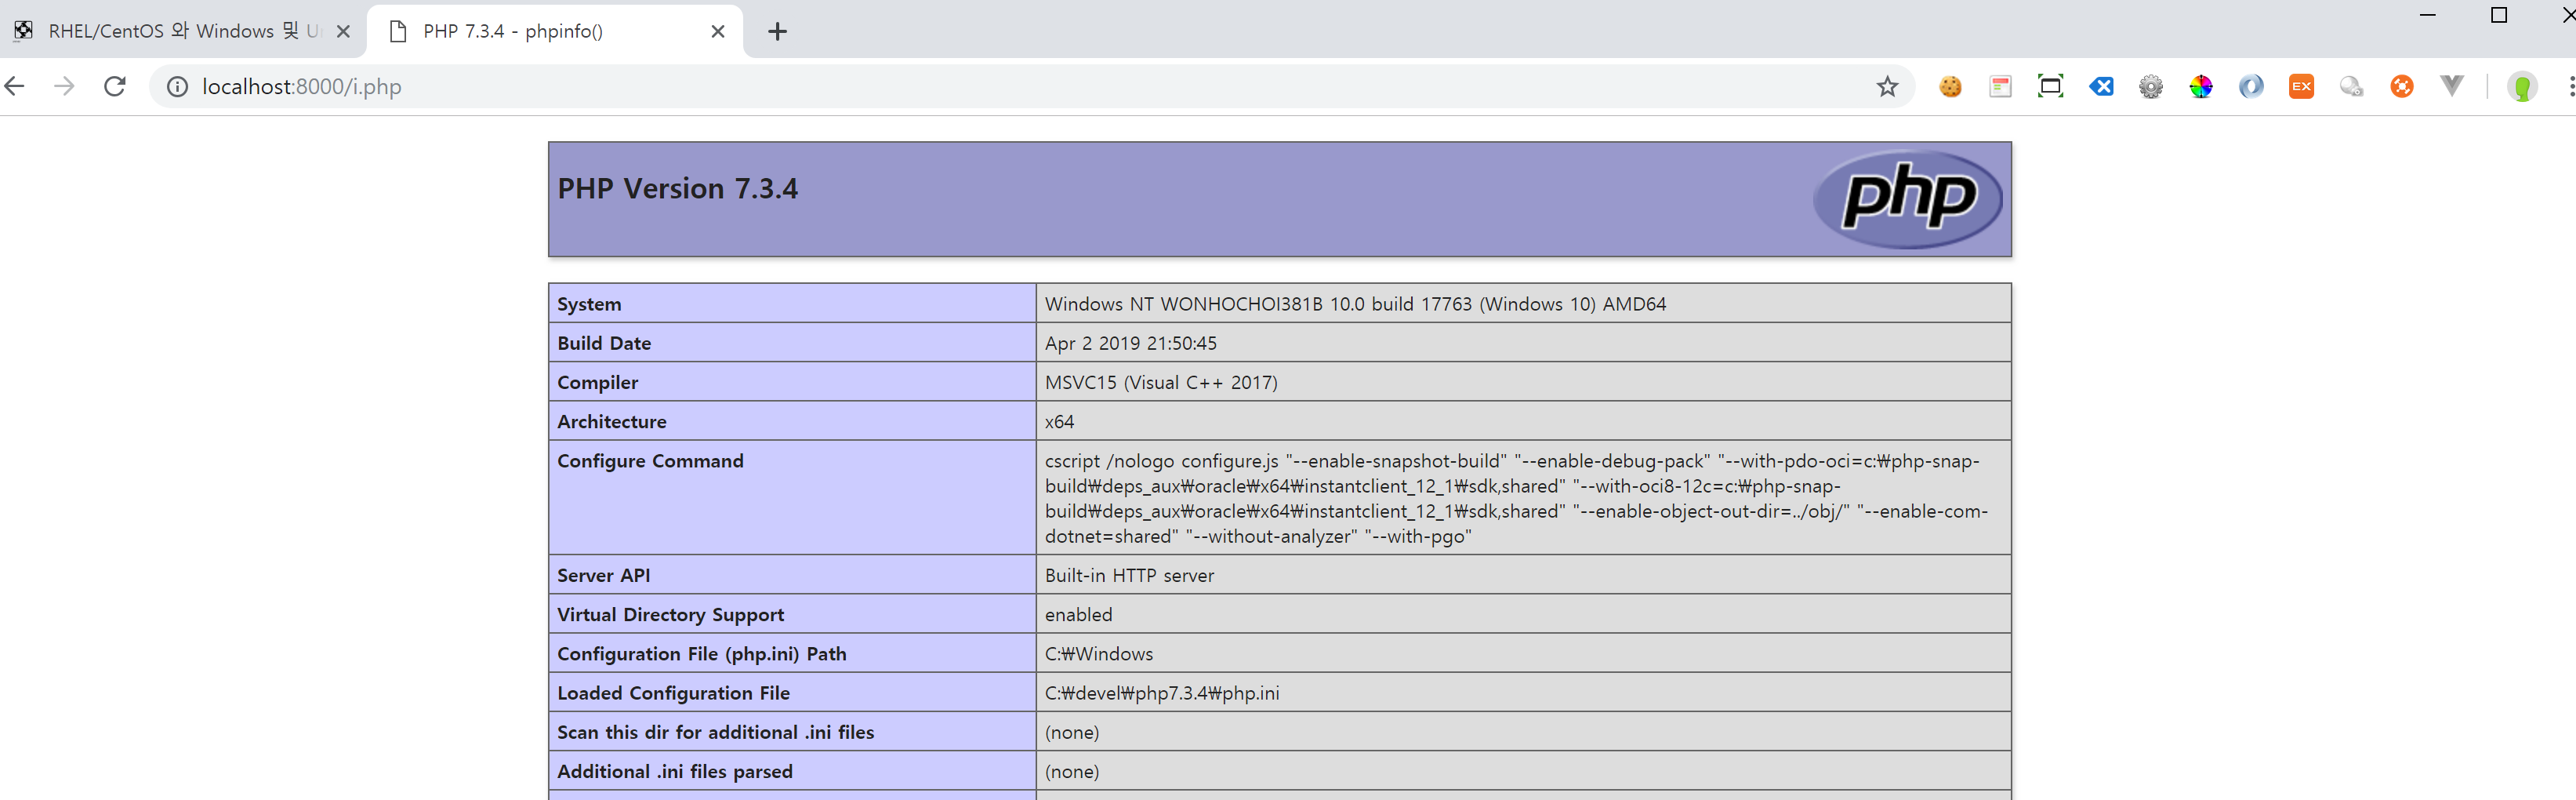
date.timezone 를 아시아/서울로 설정해준다.
아래와 같이 사용할 모듈 주석을 해제해준다.
extension=bz2
extension=curl
extension=fileinfo
extension=gd2
extension=gettext
;extension=gmp
extension=intl
;extension=imap
;extension=interbase
;extension=ldap
extension=mbstring
;extension=exif      ; Must be after mbstring as it depends on it
extension=mysqli
;extension=oci8_12c  ; Use with Oracle Database 12c Instant Client
;extension=odbc
extension=openssl
;extension=pdo_firebird
extension=pdo_mysql
;extension=pdo_oci
;extension=pdo_odbc
extension=pdo_pgsql
extension=pdo_sqlite
;extension=pgsql
;extension=shmop

; The MIBS data available in the PHP distribution must be installed.
; See http://www.php.net/manual/en/snmp.installation.php
;extension=snmp

extension=soap
;extension=sockets
;extension=sodium
;extension=sqlite3
;extension=tidy
extension=xmlrpc
;extension=xsl
    public function boot()
    {
        parent::boot();

        \Event::listen(
            \App\Events\ArticleCreated::class,
            \App\Listeners\ArticlesEventListener::class
        );
    }
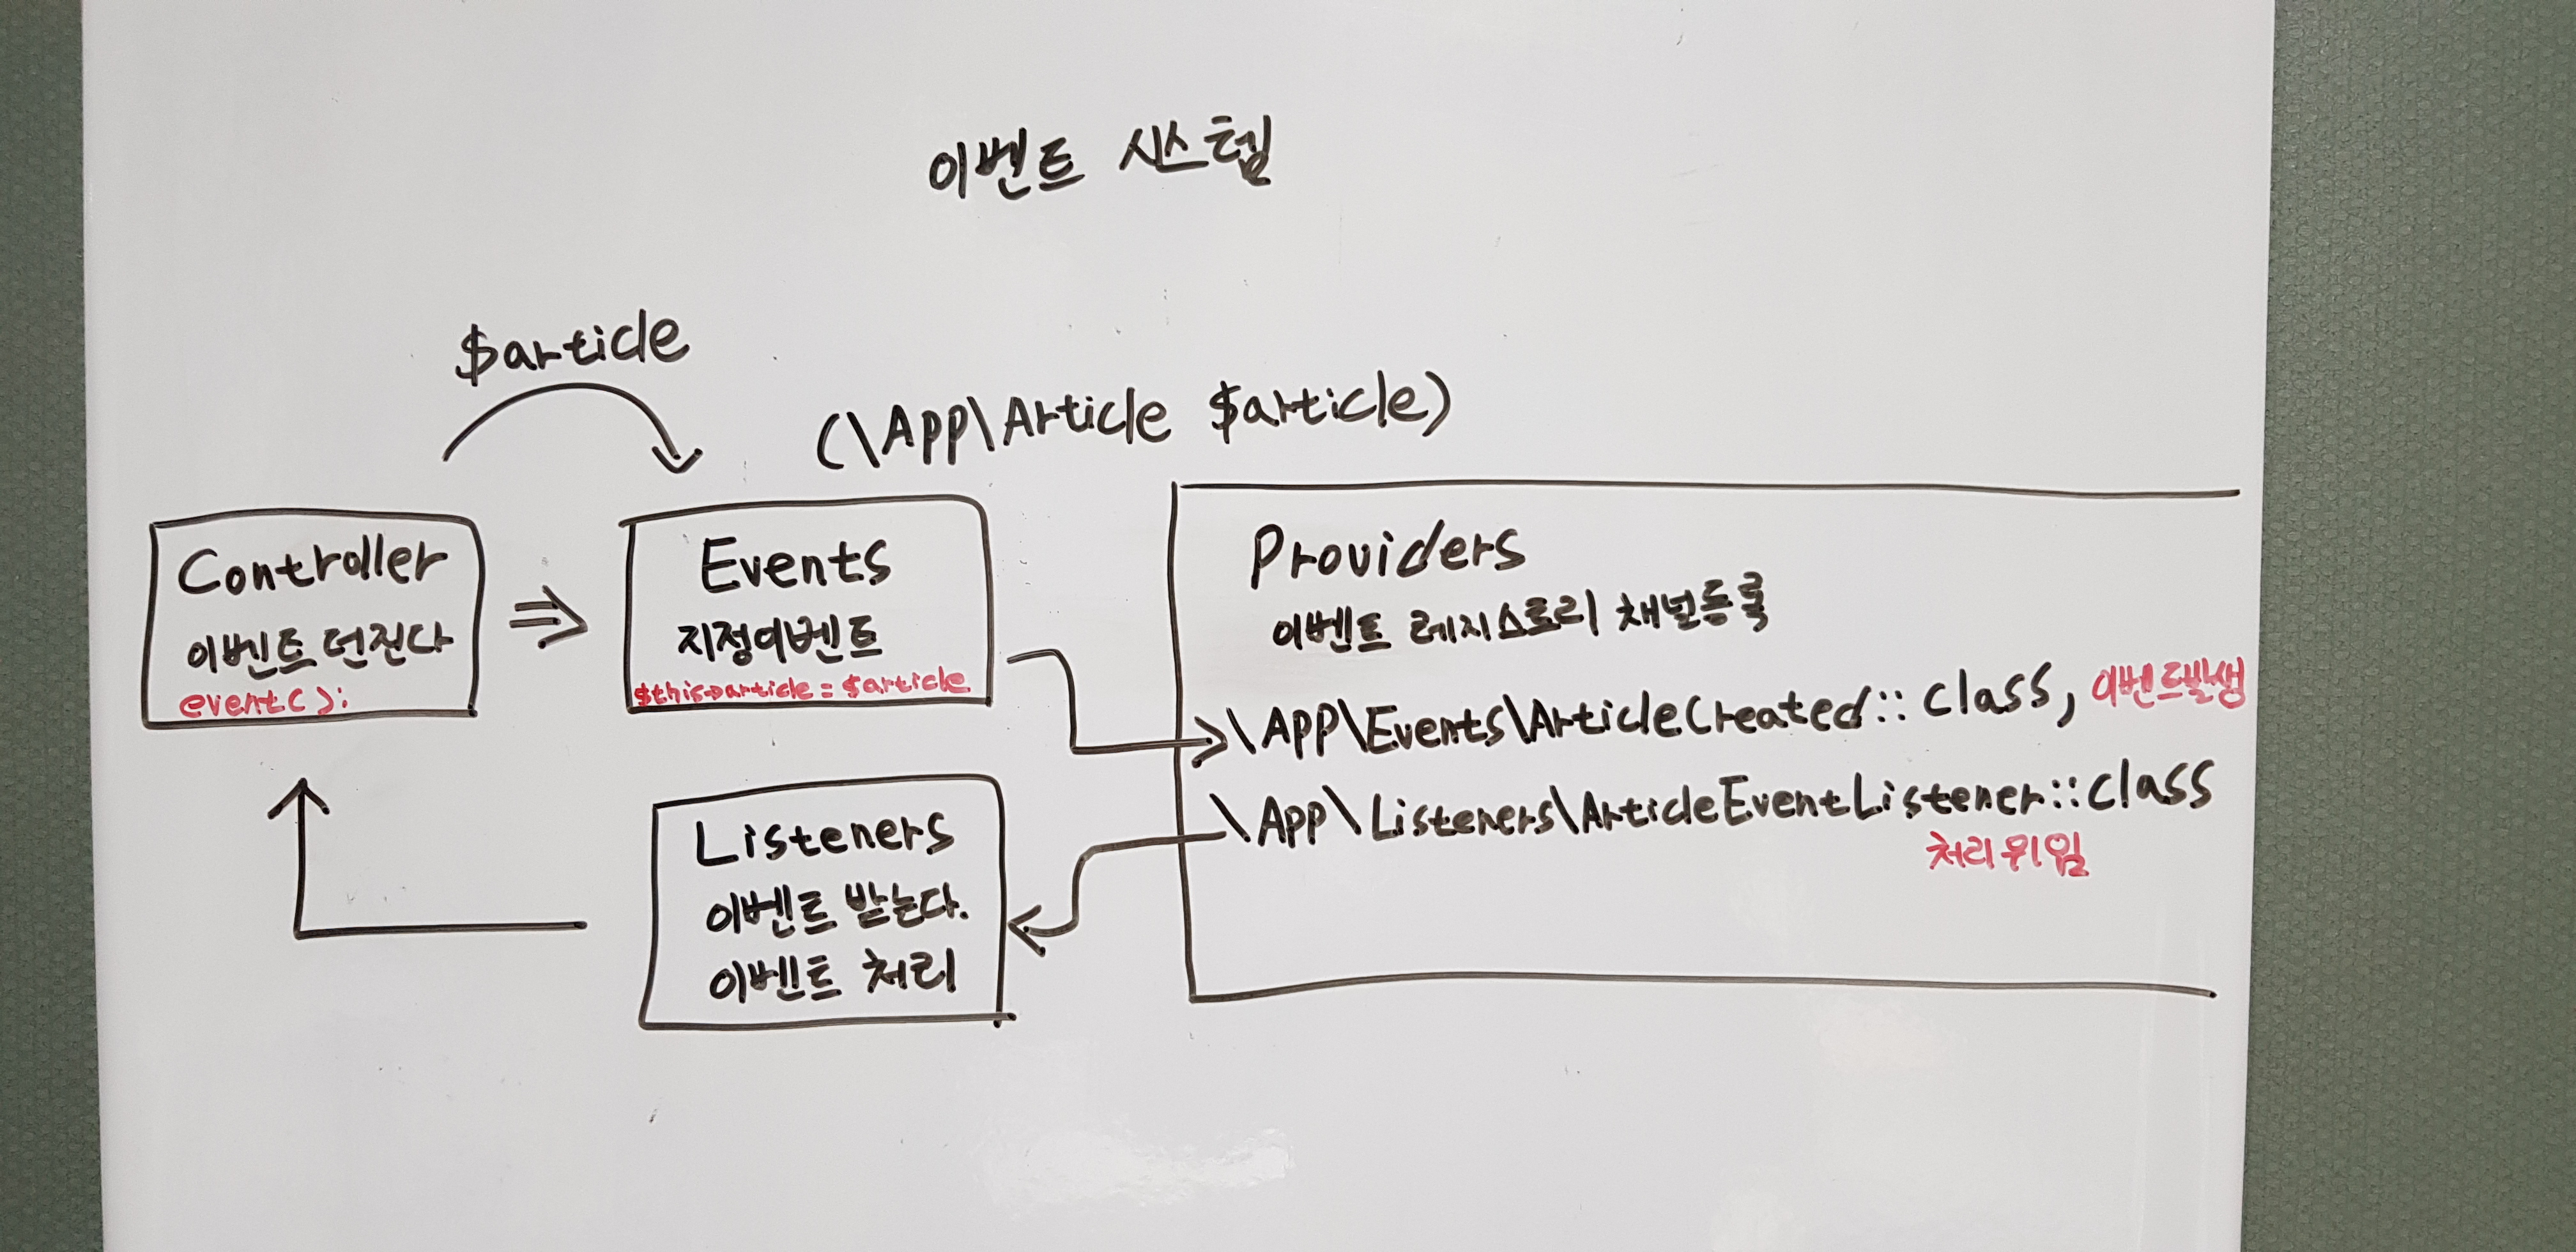
listen() 첫번째 인자는 지정한 이벤트가 발생하면 두번째 인자의 클래스에게 처리를 위임한다라는 뜻이다.
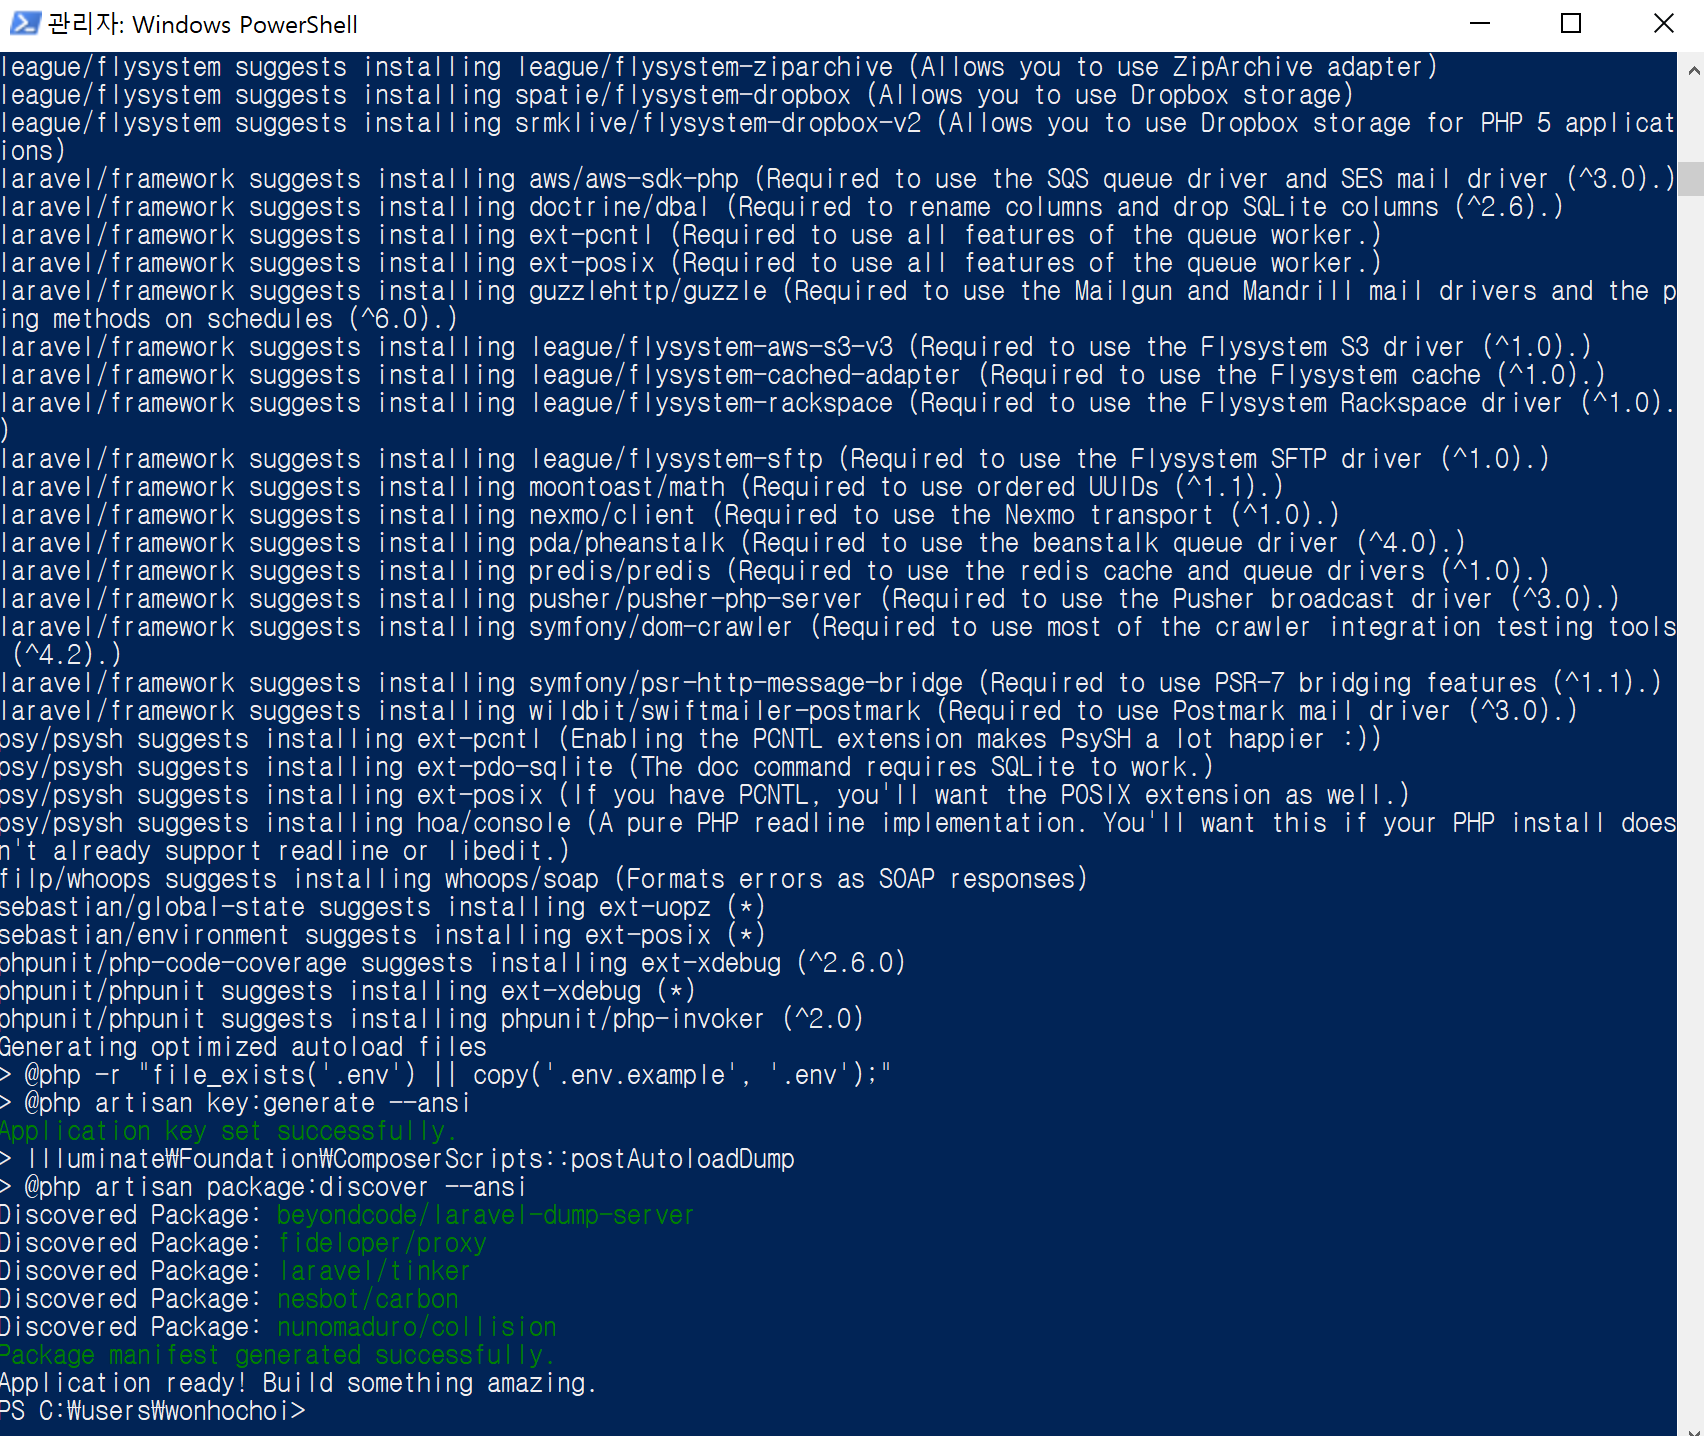
위와 같이 등록한 후에 아래와 같이 입력하면
php artisan event:generate
app/Events/ArticleCreated.php
app/Listeners/ArticlesEventListener.php
2개의 파일이 생성된다.
이벤트 클래스 작성
app/Events/ArticleCreated.php
class ArticleCreated
{
    use InteractsWithSockets, SerializesModels;

    public $article;

    /**
     * Create a new event instance.
     *
     * @return void
     */
    public function __construct(\App\Article $article)
    {
        $this->article = $article;
    }

    /**
     * Get the channels the event should broadcast on.
     *
     * @return Channel|array
     */
    public function broadcastOn()
    {
        return new PrivateChannel('channel-name');
    }
}
이벤트 채널은 DTO(Data Transfer Object)다.
다른 클래스가 DTO의 프로퍼티에 접근할 수 있게 public 로 선언하자.
__construct(\App\Article $article) 인자는 모델과 변수인 것 같다.
이벤트 리스너 클래스 작성
app/Listeners/ArticlesEventListener.php
<?php

namespace App\Listeners;

//use App\Events\article.created;
use Illuminate\Queue\InteractsWithQueue;
use Illuminate\Contracts\Queue\ShouldQueue;

class ArticlesEventListener
{
    /**
     * Create the event listener.
     *
     * @return void
     */
    public function __construct(){
        //
    }

    /**
     * Handle the event.
     *
     * @param  article.created  $event
     * @return void
     */
    public function handle(\App\Events\ArticleCreated $event)
    {
        dump('이벤트를 받았습니다. 받은 데이터(상태)는 다음과 같습니다.');
        dump($event->article->toArray());
    }
}
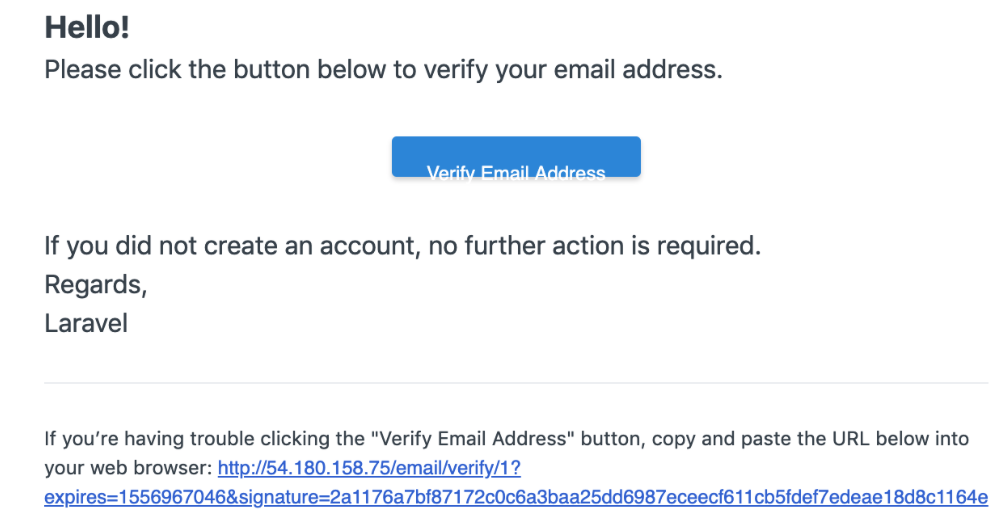
결과 화면 창
실용적인 이벤트 시스템
포럼 글이 작성되면 관리자에게 메일을 보낸다고 가정하자
컨트롤러에서 기존 이벤트를 던지는 코드는 삭제하고 주석처리했던 return 구문은 살리자.
그리고 새로운 이벤트의 이름으로 작성해주자 ArticleEvent
event(new \App\Events\ArticlesEvent($article));
이벤트 레지스트리 채널 등록
app/Http/Providers/EventServiceProvider.php
\App\Events\ArticlesEvent::class 로 수정해주자
    public function boot()
    {
        parent::boot();

        \Event::listen(
            \App\Events\ArticlesEvent::class,
            \App\Listeners\ArticlesEventListener::class
        );
    }
이벤트 채널과 리스너 뼈대 코드 한 번에 만들기
php artisan event:generate
이벤트 클래스 뼈대만 만들기
php artisan make:event ArticlesEvent
\App\Listeners\ArticlesEventListener.php 는 이미 있기 때문에 ArticlesEvent 클래스만 생성된다.
이벤트 소스 작성
app/Events/ArticlesEvent.php
<?php

namespace App\Events;

use Illuminate\Broadcasting\Channel;
use Illuminate\Queue\SerializesModels;
use Illuminate\Broadcasting\PrivateChannel;
use Illuminate\Broadcasting\PresenceChannel;
use Illuminate\Broadcasting\InteractsWithSockets;
use Illuminate\Contracts\Broadcasting\ShouldBroadcast;

class ArticlesEvent
{
    use InteractsWithSockets, SerializesModels;

    /**
     * Create a new event instance.
     *
     * @return void
     */
    public $article;

    public $action;

    public function __construct(\App\Article $article, $action = 'created')
    {
        $this->article = $article;
        $this->action = $action;
    }

    /**
     * Get the channels the event should broadcast on.
     *
     * @return Channel|array
     */
    public function broadcastOn()
    {
        return new PrivateChannel('channel-name');
    }
}
이벤트 리스너 소스 작성
app/Listeners/ArticlesEventListener.php
<?php

namespace App\Listeners;

//use App\Events\article.created;
use Illuminate\Queue\InteractsWithQueue;
use Illuminate\Contracts\Queue\ShouldQueue;

class ArticlesEventListener
{
    /**
     * Create the event listener.
     *
     * @return void
     */
    public function __construct(){
        //
    }

    /**
     * Handle the event.
     *
     * @param  article.created  $event
     * @return void
     */
    public function handle(\App\Events\ArticlesEvent $event)
    {
        if($event->action === 'created'){
            \Log::info(sprintf(
                '새로운 포럼 글이 등록되었습니다.: %s',
                $event->article->title
            ));
        }
    }
}
    public function up()
    {
        Schema::table('users', function (Blueprint $table) {
            $table->timestamp('last_login')->nullable();
        });
    }

    /**
     * Reverse the migrations.
     *
     * @return void
     */
    public function down()
    {
        Schema::table('users', function (Blueprint $table) {
            $table->dropColumn('last_login');
        });
    }
php artisan migrate
app\User.php
class User extends Authenticatable
{
	protected $dates = ['last_login'];
}
이벤트 리스너
이벤트 레지스트리에 이벤트 채널과 리스너를 동록한다.
사용자가 로그인하면 방출하는 라라벨 내장 이벤트는 Illuminate\Auth\Events\Login
이 작업은 컨트롤러에서 소스를 빼내어 Requests\ArticlesRequest.php 로 대체한다는 개념이다.
컨트롤러 소스가 간단해진다. 즉 컨트롤러에서 ArticlesRequest.php 를 인서트한다고 생각하자.
php artisan make:request ArticlesRequest
app/Http/Requests/ArticlesRequest.php 파일이 생성된다.
class ArticlesRequest extends FormRequest
{
/**
* Determine if the user is authorized to make this request.
*
* @return bool
*/
public function authorize()
{
return true;
}
/**
* Get the validation rules that apply to the request.
*
* @return array
*/
public function rules()
{
return [
'title' => ['required'],
'content' => ['required', 'min:10'],
];
}
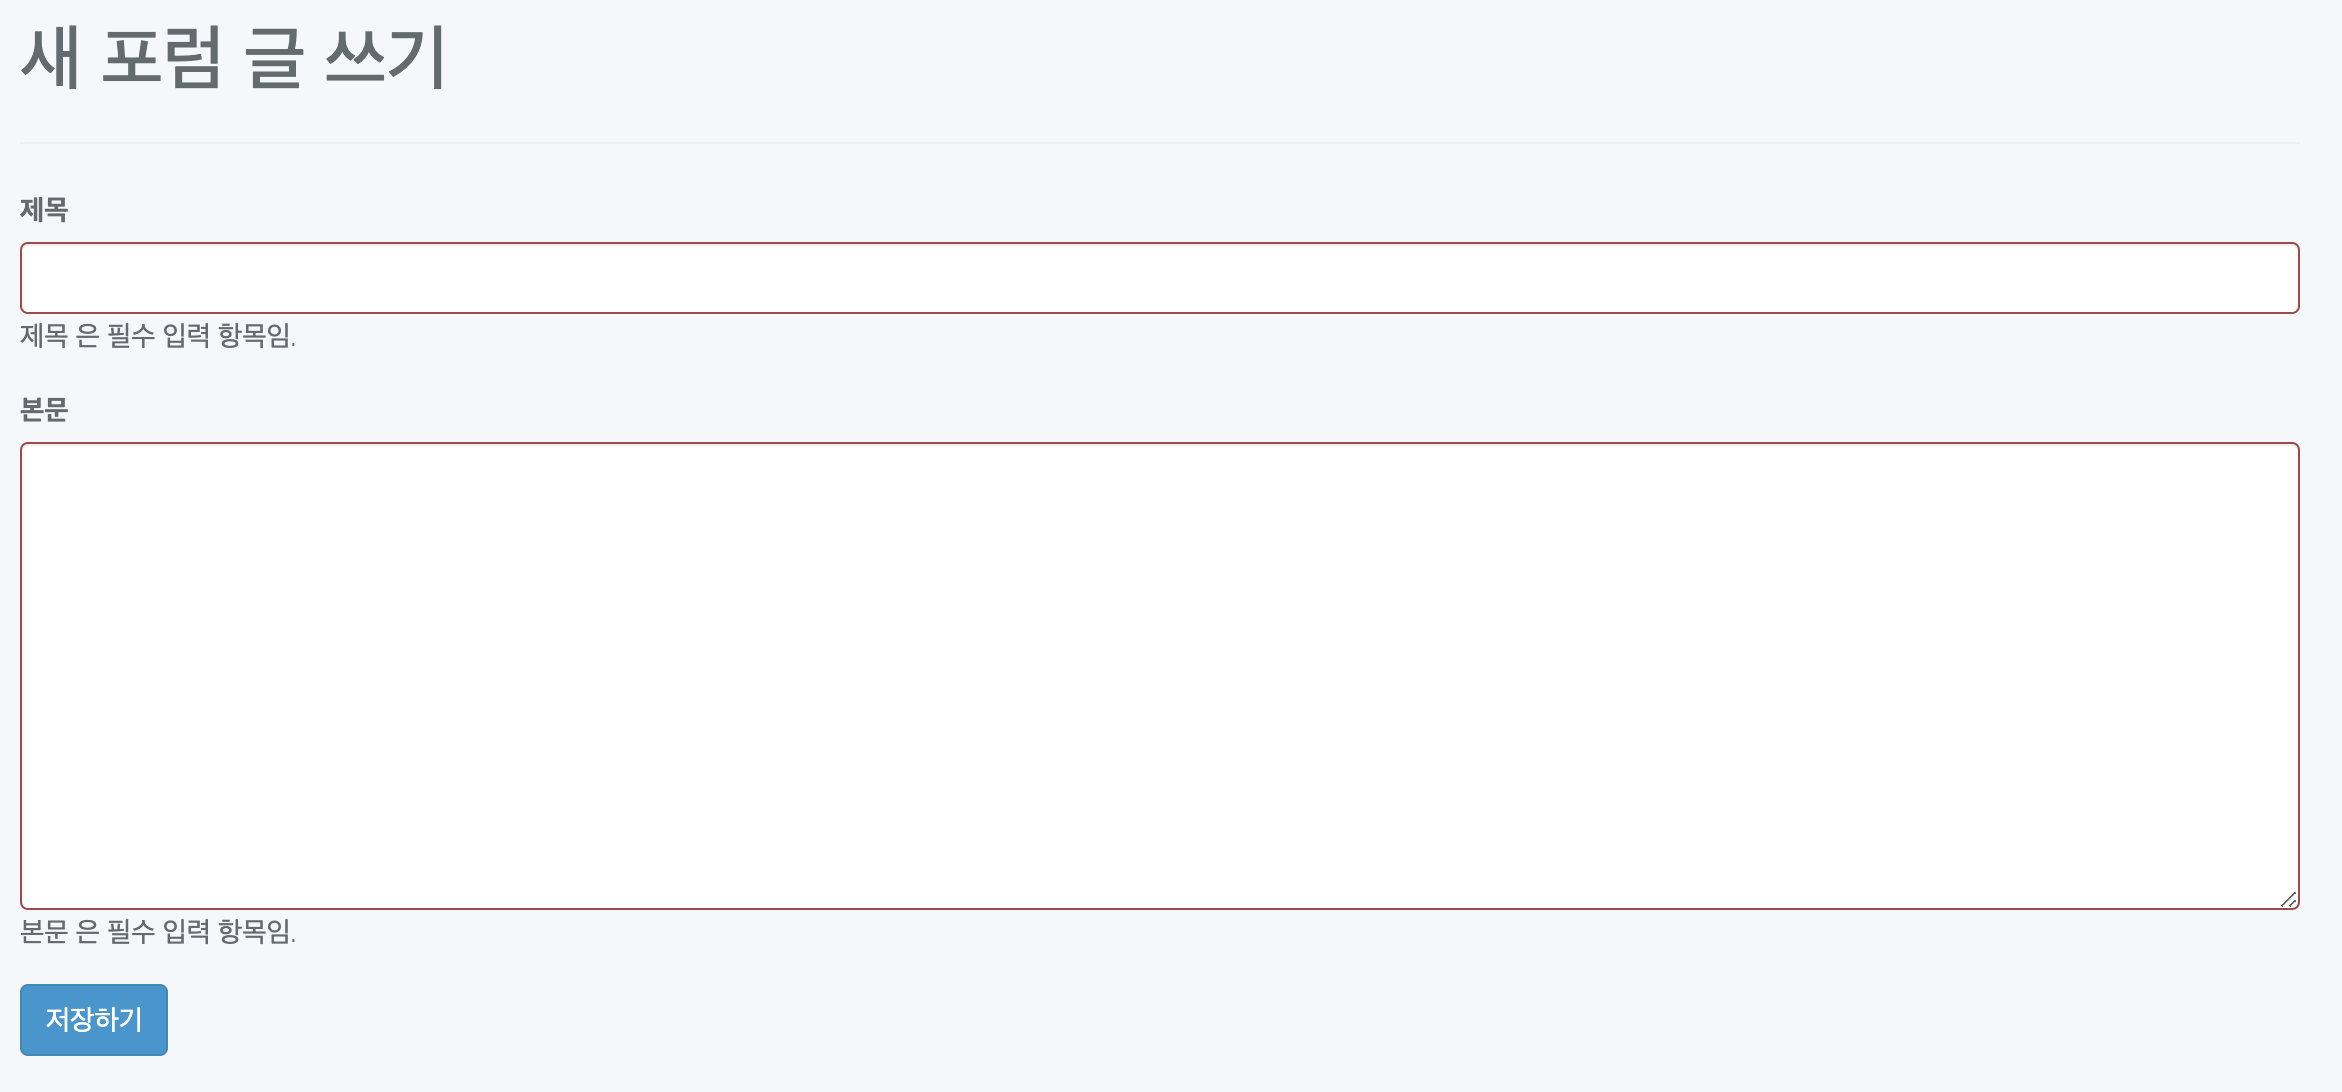
public function messages(){
return [
'required' => ':attribute 은 필수 입력 항목임.',
'min' => ':attribute 은 최소 :min 글자 이상이 필요함.',
];
}
public function attributes(){
return [
'title' => '제목',
'content' => '본문',
];
}
}
app/Http/Controllers/ArticlesConteller.php
use App\Http\Requests\ArticlesRequest;
상단에 위와 같은 소스를 작성해야한다.
    public function store(ArticlesRequest $request)
    {


        $article = \App\User::find(1)->articles()->create($request->all());

        if(!$article){
            return back()->with('flash_message', '글이 저장되지 않았습니다.')->withInput();
        }

        return redirect(route('articles.index'))->with('flash_message', '작성하신 글이 저장되었습니다.');

    }